Writing previewable SwiftUI code.
Getting the most out of Xcode Previews for SwiftUI
Managing app states is key to providing a smooth user experience in iOS apps. When handled right, users get the right feedback at the right time—whether the app is loading, showing content, or facing an error. By taking care of these states properly, developers can build more interactive, easy-to-use apps that keep users happy and engaged. This article dives into a way to manage app states in SwiftUI that boosts both development speed and user satisfaction.
We’ve all seen or use this approach before:
1
2
3
4
5
6
7
8
9
10
11
12
13
14
//Creating our viewModel object
final class MainViewModel: ObservableObject {
    @Published var isLoading: Bool = true
    @Published var articles: [Article] = []

    @MainActor
    func loadNews() async {
        isLoading = true
        try! await Task.sleep(for: .seconds(1.0))
        isLoading = false
        //Simulating return of the results
        articles = Article.testArticles
    }
}
1
2
3
4
5
6
7
8
9
10
11
12
13
14
15
16
17
18
19
//And initializing it directly in the view.
struct MainView: View {
    @StateObject var viewModel: MainViewModel = .init()

    var body: some View {
        if viewModel.isLoading {
            ProgressView()
                .task {
                    await viewModel.loadNews()
                }
        } else {
            Text("News List")
        }
    }
}

#Preview {
    MainView()
}
This is what we see in the Preview:
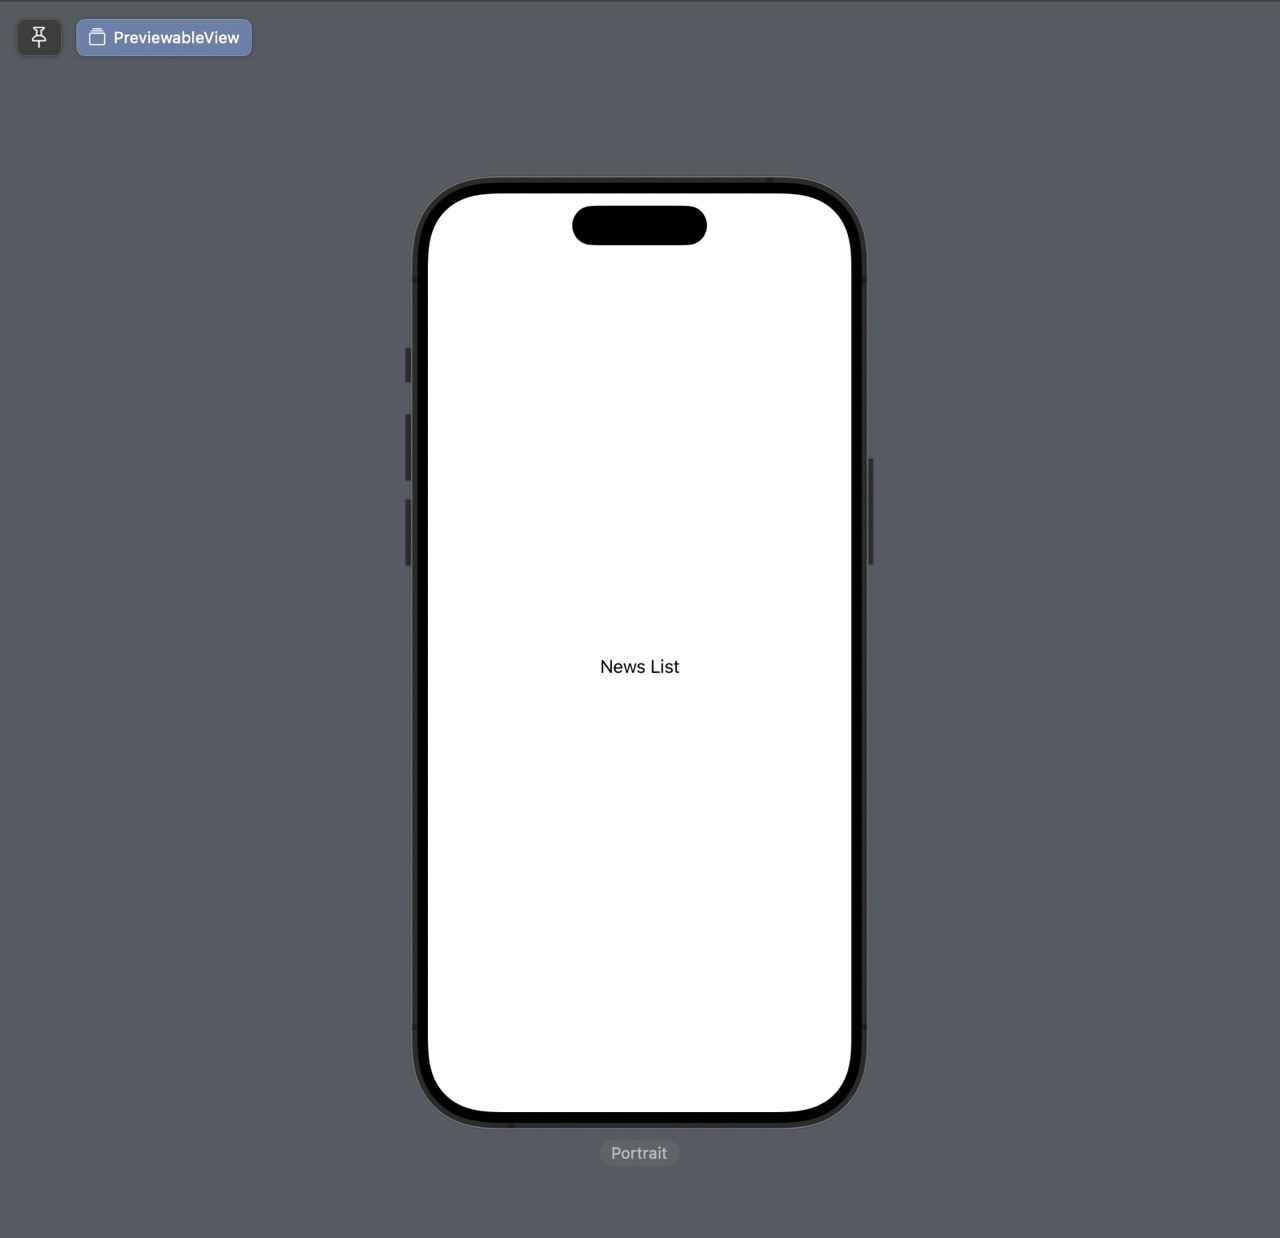
And while it’s simple enough to start with, it has several serious drawbacks that could be improved. 1. Even with just two states, it’s not quite comfortable to read the views. Usually, the content view could have 4-5 states (e.g., data, isLoading, empty, error, etc.). Imagine the mess with all those if-then checks. 2. To work on our subviews’ design, we’ll perform network requests each time we make some changes. 3. Our views concretize the viewModel type, preventing us from easily passing mock data and writing tests. Without further ado, let’s start by declaring an enum that represents all the states our view needs:
1
2
3
4
5
6
enum NewsListState: CaseIterable {
    case data
    case loading
    case empty
    case error
}
Now let’s create data model for our example.
1
2
3
4
struct Article: Identifiable {
    let id: UUID = UUID()
    let title: String
}
Let’s also create an extension and generate a sample test data for our model, so we can use it later for our previews.
1
2
3
4
5
6
7
8
9
extension Article {
    static let testArticles: [Article] = [
        Article(title: "Apple Unveils New MacBook Pro with M3 Chip"),
        Article(title: "iOS 17 Release Date Announced by Apple"),
        Article(title: "Apple's Q3 2024 Earnings Exceed Expectations"),
        Article(title: "Apple Watch Series 9 Features Leaked"),
        Article(title: "Apple Expands Services with New Fitness+ Updates")
    ]
}
To enable our views to consume different viewModels, we must rely not on their concrete implementations, but on an abstraction (in our case, a protocol). Let’s declare a protocol to represent our viewModel:
1
2
3
4
5
6
protocol MainViewModelProtocol: ObservableObject {
    var newsState: NewsListState { get }
    var articles: [Article] { get }

    func loadNews() async
}
Note that we can conform our protocol to ObservableObject so our viewModels will automatically become ObservableObjects after conforming to this protocol.
Also note that both properties newsState and articles have only getter, cause they only will change inside the viewModel.
Le’ts continue by creating ou viewModel and conforming it our protocol.
1
2
3
4
5
6
7
8
9
10
11
12
13
14
15
16
17
18
19
20
21
22
final class UIMainViewModel: MainViewModelProtocol {
    @Published private (set) var newsState: NewsListState = .empty
    @Published private (set) var articles: [Article] = []

    @MainActor
    func loadNews() async {
        //setting newslist state to loading data
        newsState = .loading
        do {
            //performing our async fetch request
            try await Task.sleep(for: .seconds(3.0))

            //if request was successfull, checking if our array of articles is not empty
            //and assigning state accordingly
            articles = Article.testArticles
            newsState = articles.isEmpty ? .empty : .data
        } catch {
            //in case of error during the fetch request, setting error state.
            newsState = .error
        }
    }
}
Moving futher to UI part and by creating our view:
1
2
3
4
5
6
7
8
9
10
11
12
13
14
15
16
17
18
19
20
21
22
23
24
25
26
27
28
29
30
31
struct NewsList<ViewModel: MainViewModelProtocol>: View {
    @StateObject var viewModel: ViewModel
    var body: some View {
        NavigationStack {
            Group {
                switch viewModel.newsState {
                case .data:
                    newsList
                case .loading:
                    ProgressView("Loading newsfeed")
                case .empty:
                    Text("No data available state")
                case .error:
                    Text("Error fetching data.")
                }
            }
            .navigationTitle("News Feed")
        }
        .task {
            await viewModel.loadNews()
        }
    }

    private var newsList: some View {
        List {
            ForEach(viewModel.articles) { article in
                Text(article.title)
            }
        }
    }
}
Here the struct NewsList is defined as a generic view, which means it can accept any type of ViewModel as long as it conforms to the MainViewModelProtocol. It gives us the ability to pass mock data to make our previews shine.
We can use our view easily in the following way:
1
2
3
4
5
6
7
8
9
10
11
struct SecondNewsView: View {
    var body: some View {
        newsListView
    }

    @ViewBuilder
    private var newsListView: some View {
        let viewModel: UIMainViewModel = .init()
        NewsList(viewModel: viewModel)
    }
}
We are half-through and now is the most interesting part.
As I mentioned before, it’s redundant to perform fetch request each time we change something to see it in a preview. To handle that, we’ll create our TestViewModel, conform it to our protocol and it will work with mock data instead. By doing so we achieve several points:
- To get rid of useless network calls
- To see all states of our view at once
1
2
3
4
5
6
7
8
9
10
11
12
13
14
15
16
17
18
19
20
21
22
23
24
25
26
27
final class TestMainViewModel: MainViewModelProtocol {
    @Published private (set) var newsState: NewsListState
    @Published private (set) var articles: [Article] = []

    @MainActor
    func loadNews() async {
    }

    init(newsState: NewsListState) {
        self.newsState = newsState
        observeState()
    }

    //We observe our passed in preview state and assign our test data accordingly.
    private func observeState() {
        switch newsState {
        case .data:
            articles = Article.testArticles
        case .loading:
            articles = []
        case .empty:
            articles = []
        case .error:
            articles = []
        }
    }
}
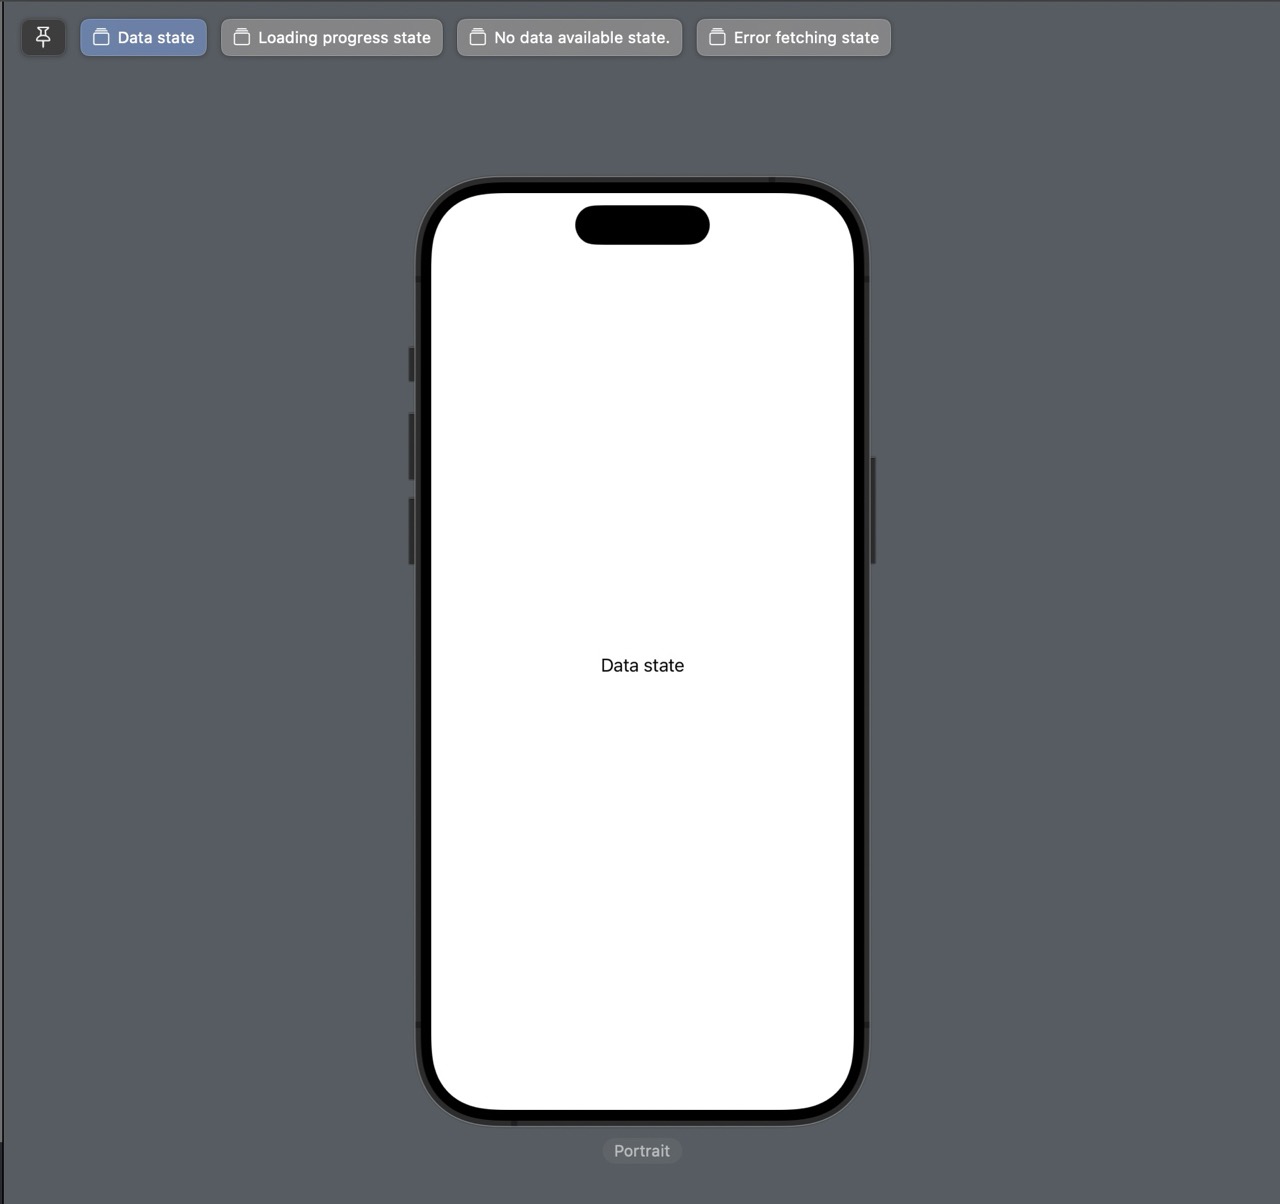
By declaring our NewsListState as CaseIterateble we have an abilityto iterate through all states of our newsview and pass each state as an argument tot our test view model, such so:
1
2
3
4
5
6
7
8
9
struct SecondNewsViewPreview: PreviewProvider {
    static var previews: some View {
        ForEach(NewsListState.allCases, id:\.self) { state in
            let viewModel: TestMainViewModel = .init(newsState: state)
                NewsList(viewModel: viewModel)
                .previewDisplayName(state.title)
        }
    }
}
And Voilà!
Let’s add one more small thing to make things even better:
1
2
3
4
5
6
7
8
9
10
11
12
13
14
15
16
17
18
19
20
enum NewsListState: CaseIterable {
    case data
    case loading
    case empty
    case error

    //we can use this property to properly name our previews
    var title: String {
        switch self {
        case .data:
            "Data state"
        case .loading:
            "Loading progress state"
        case .empty:
            "No data available state."
        case .error:
            "Error fetching state"
        }
    }
}
and now pass this title in our preview code, such so:
1
2
3
4
5
6
7
8
9
struct SecondNewsViewPreview: PreviewProvider {
    static var previews: some View {
        ForEach(NewsListState.allCases, id:\.self) { state in
            let viewModel: TestMainViewModel = .init(newsState: state)
                NewsList(viewModel: viewModel)
                .previewDisplayName(state.title)
        }
    }
}
Our final result:
I hope you’ll start using Xcode previews more as it’s quite powerful and useful tool.